My First App
So, now I have a shiny cluster up and (mostly/hopefully) running, I'm getting into familar territory - application development and deployment on top of OpenShift. That doesn't mean that there won't be more adventures in Infrastructure as I paly around with it more, and it also doesn't mean we're going to jump to large, complex application deployments. Partly because I don't like complicated, and partly because the rest of the articles have started from zero knowledge, so I might as well do the same for building things on the new cluster. With that in mind, lets make something.
Normally, most beginner series starts with a 'Hello World' demonstration. It's ubiquitous, but it's also boring, so I'm not going to do that. Ok, so I have longer term reasons as well for not doing it, but bear with. No, in this case we're going to go straight in with a quotation generator. Not just any quotation generator, but one that takes quotes from one of the best cartoons ever, Adventure Time.
We'll also be using Node.js, in a move that will surprise nobody who I work with. Simply put, it's a straightforward language to learn, it's easy to get results quickly, and doesn't require a complex build stack or lots of configuration to both develop locally, or push to 'the cloud'. Other languages are available, but this is what we're using today.
We're going to create a little api. A very little api. A single endpoint in fact. You'll hit <url>/quote and there'll be a little JSON object of joy containing a nice quote from the show, and some metadata that we'll get into. The dataset is one that I built up ages ago (so in't entirely up to date with the show), and is a public gist that you can grab if you wish. Other than that, we will use fastify, a lovely little web framework for Node.js.
The code for the entire app is below.
const quotes = require('./data/adventure-time-quotes.json');
const fastify = require('fastify')({logger: true});

fastify.get('/quote', function(request, reply) {
    return reply.send(JSON.stringify(quotes[Math.floor(Math.random() * quotes.length)]));
});

fastify.listen(8080, '0.0.0.0', function(err, address) {
    if (err) {
        fastify.log.error(err)
        process.exit(1)
    }
    fastify.log.info(`server listening on ${address}`)
});- First, we include our
adventure-time-quotes.jsonfile, that is in a folder named 'data'. - We instantiate fastifiy, our web framework.
- We create our
/quoteroute, which returns a random entry fromadventure-time-quotes.json. - We start our server on port 8080 (which is the default in OpenShift), and
0.0.0.0means it'll listen on any ip interface.
In order to run our code, we need a package.json file, which lays out dependencies, and the various run commands. You can run npm init in your applications folder for an interactive creation of the file, or copy out something like below
{
  "name": "adventure-time-quoter",
  "version": "1.0.0",
  "description": "The best quotes from the best show!",
  "main": "index.js",
  "scripts": {
    "start": "node --use_strict index.js"
  },
  "author": "Al Graham",
  "dependencies": {
    "fastify": "^2.14.1"
  }
}
The important parts in this are that we have fastify with a version of ^2.14.1 declared as a dependency - ^ is used to pull the latest major version of fastify that is equal to or greater than 2.14.1 (so in future it would pull 2.14.3, or 2.20.2, but never 3.x.y), and our main start command is node --use_strict index.js. This is the command that will be run by OpenShift to get your pod to start. You can test locally by running npm start and if you have everything correct, you'll be able to get quotes to your hearts content - but that's not on OpenShift. For that, we need to do a little more.
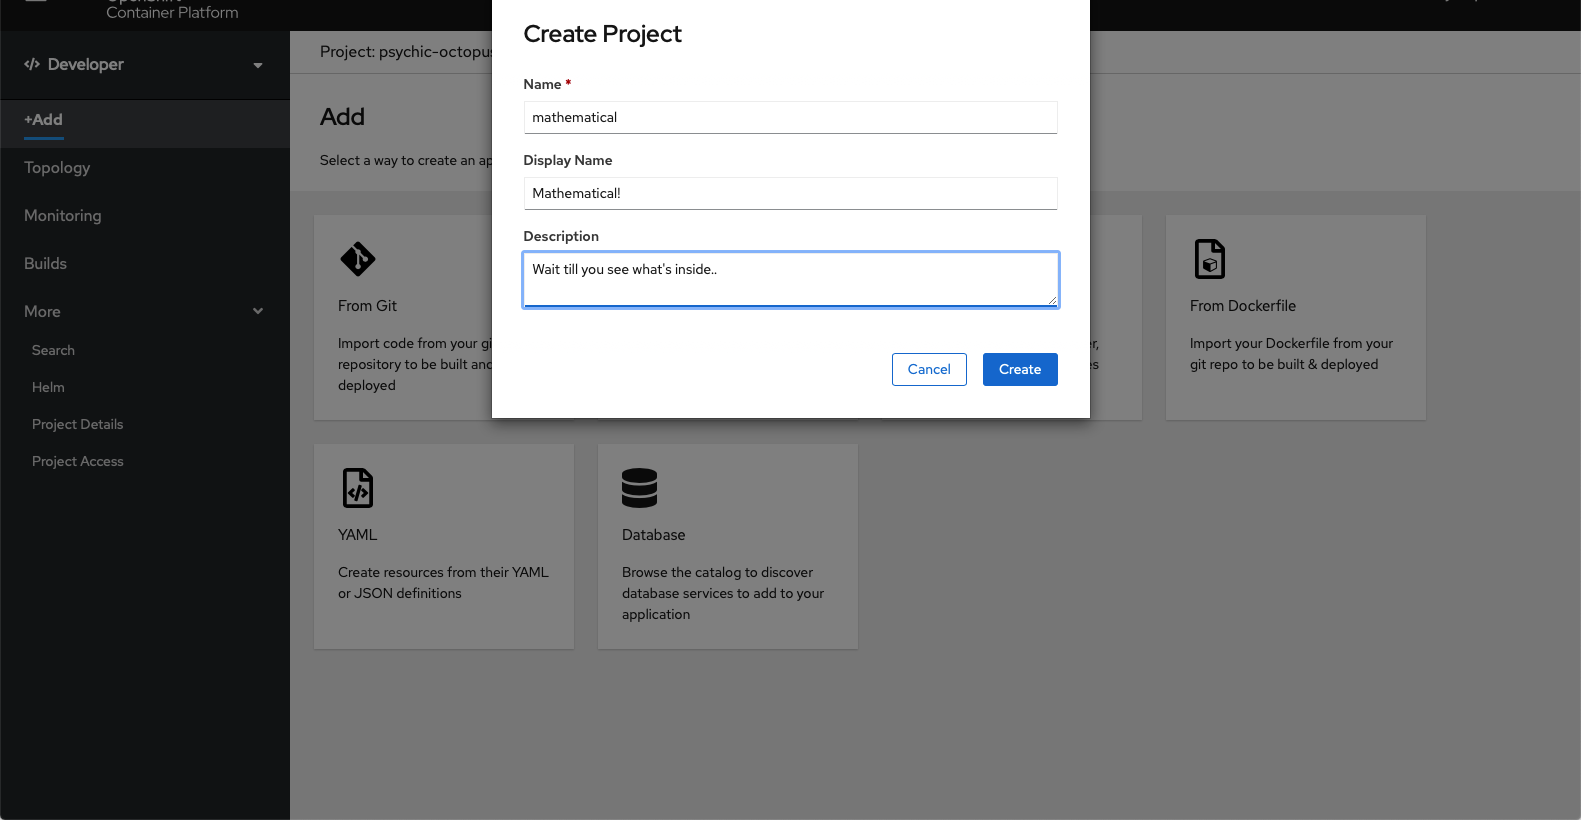
We need to create a project to house our apis. This can be done through the web console by going to the Developer area, and clicking on '+Add', and then selecting 'Create Project' from the Project's dropdown, and filling in some basic details
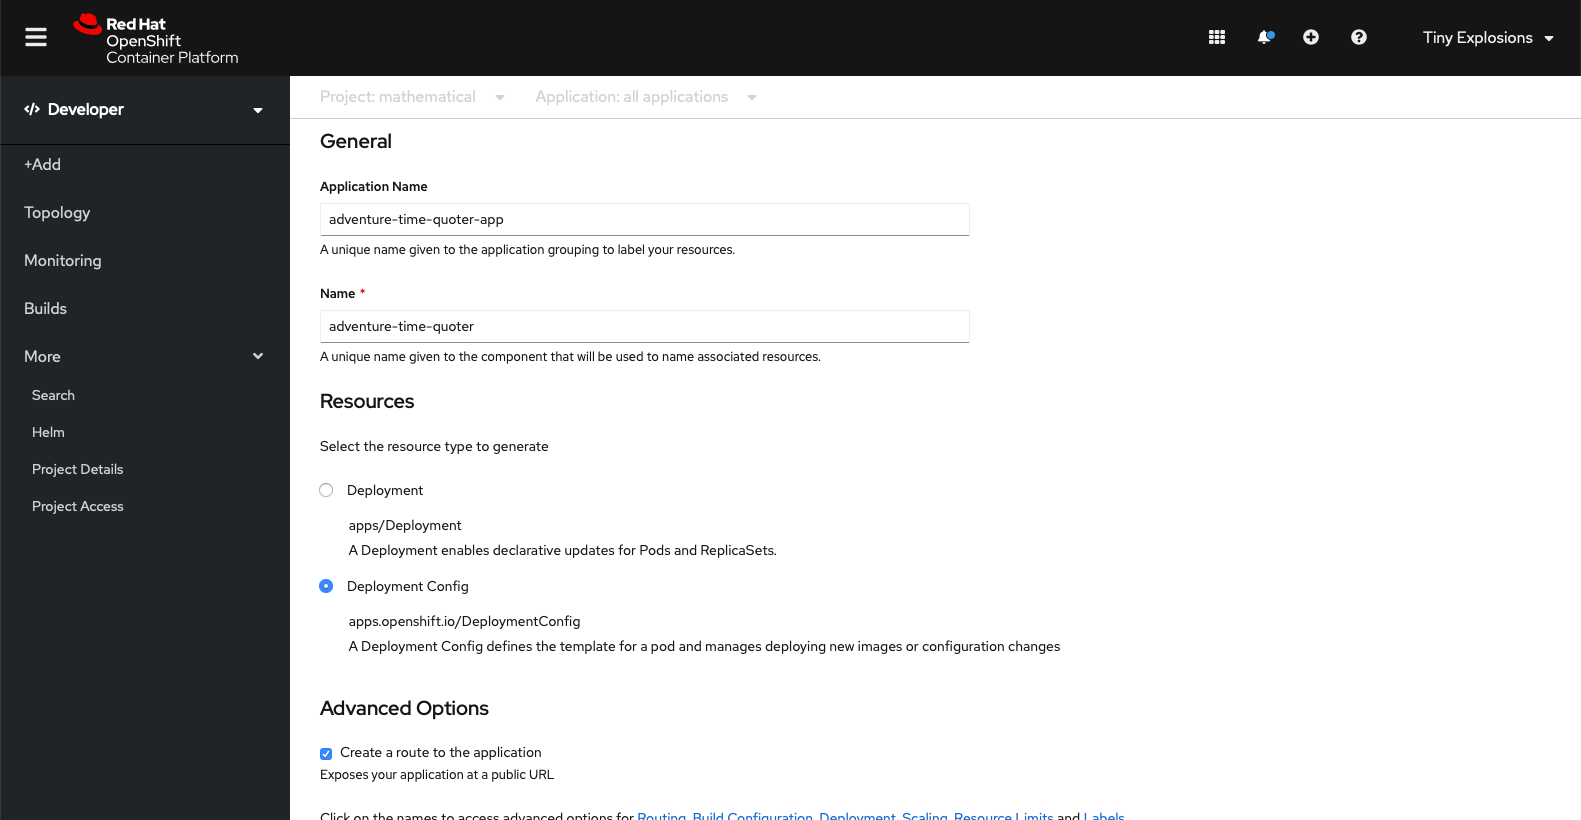
Then we can add a workload from Git, and fill in our repository details, select Node.js for our builder image, give it a name within OpenShift, and create a Deployment Config

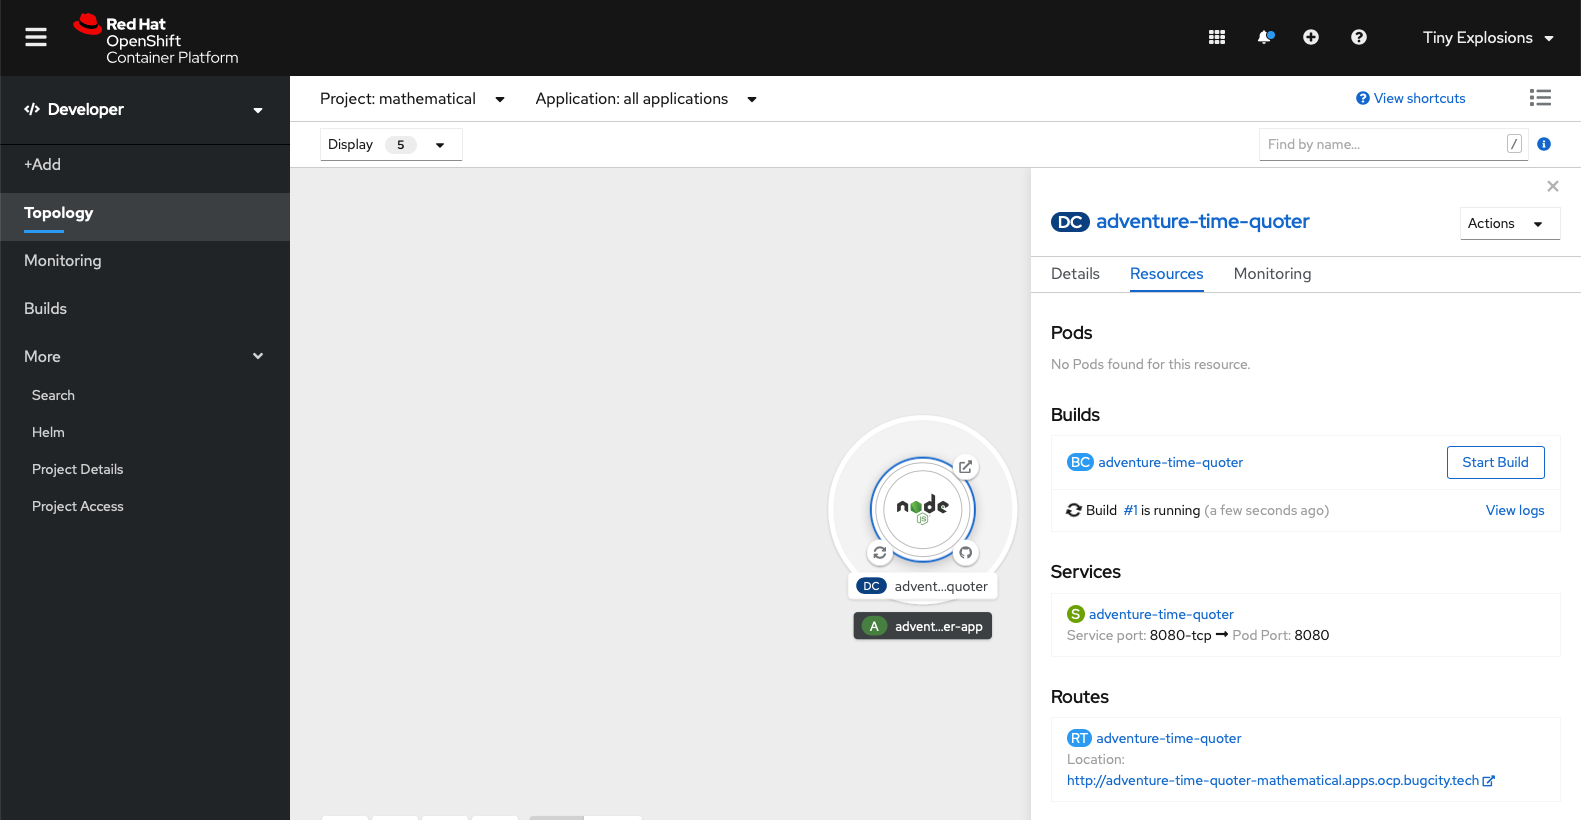
Once you click 'Create', you have basically finished. Your application will be created, and you will see a cute little graphic representing it. Clicking on it expands some detailed information. In the below, you will see that the first build has just been started (this is automatically started when you add your application)
When the build finishes, and if it is successful (it should be successful), the ui will change to show that the application container is being created
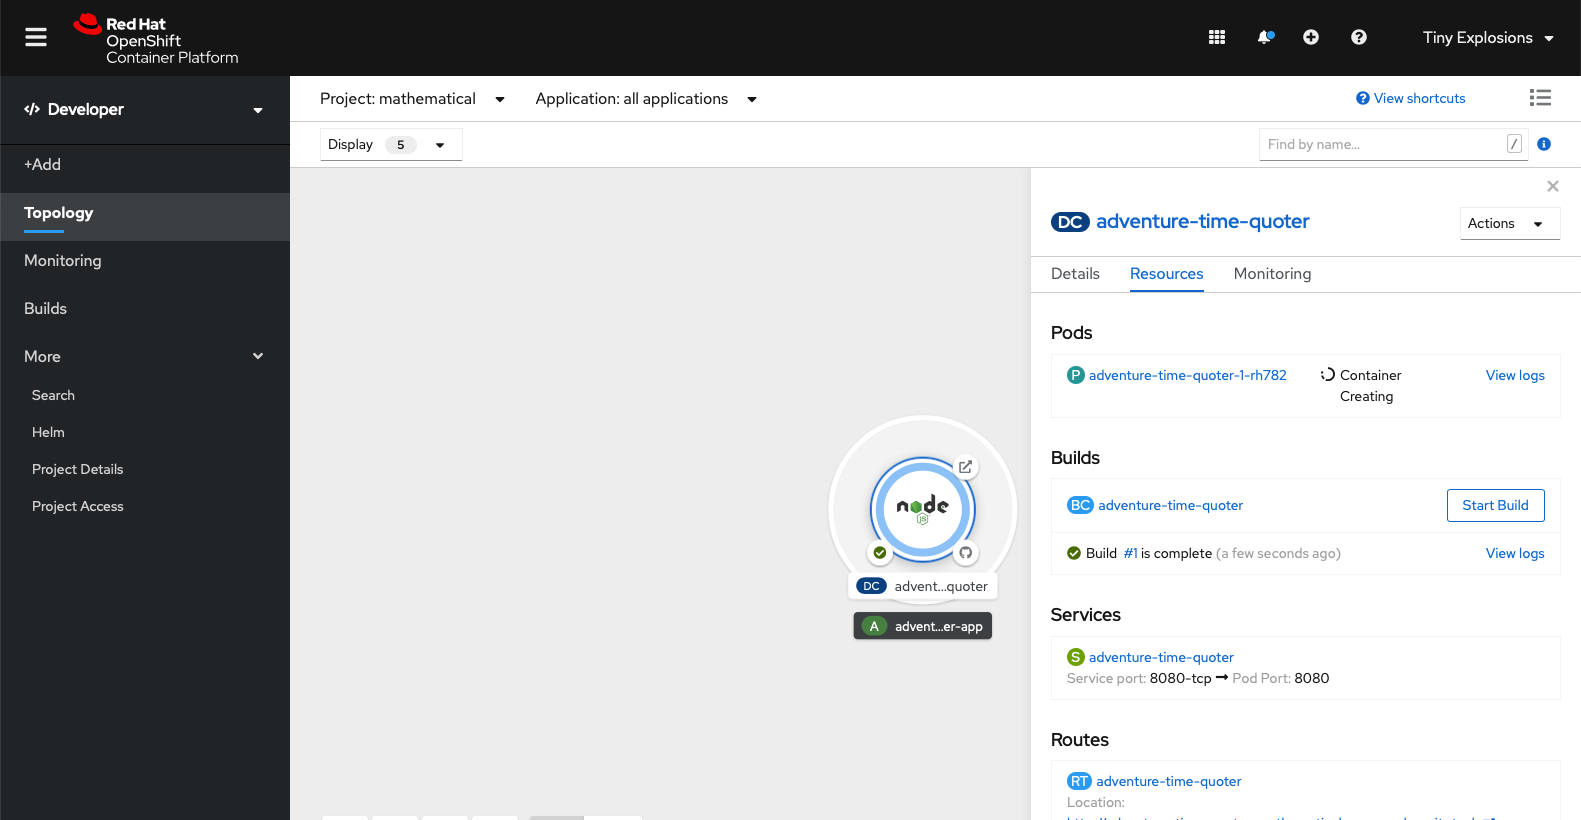
When the creation has finished, you will see you container is running, and you should be able to access the route that was exposed.
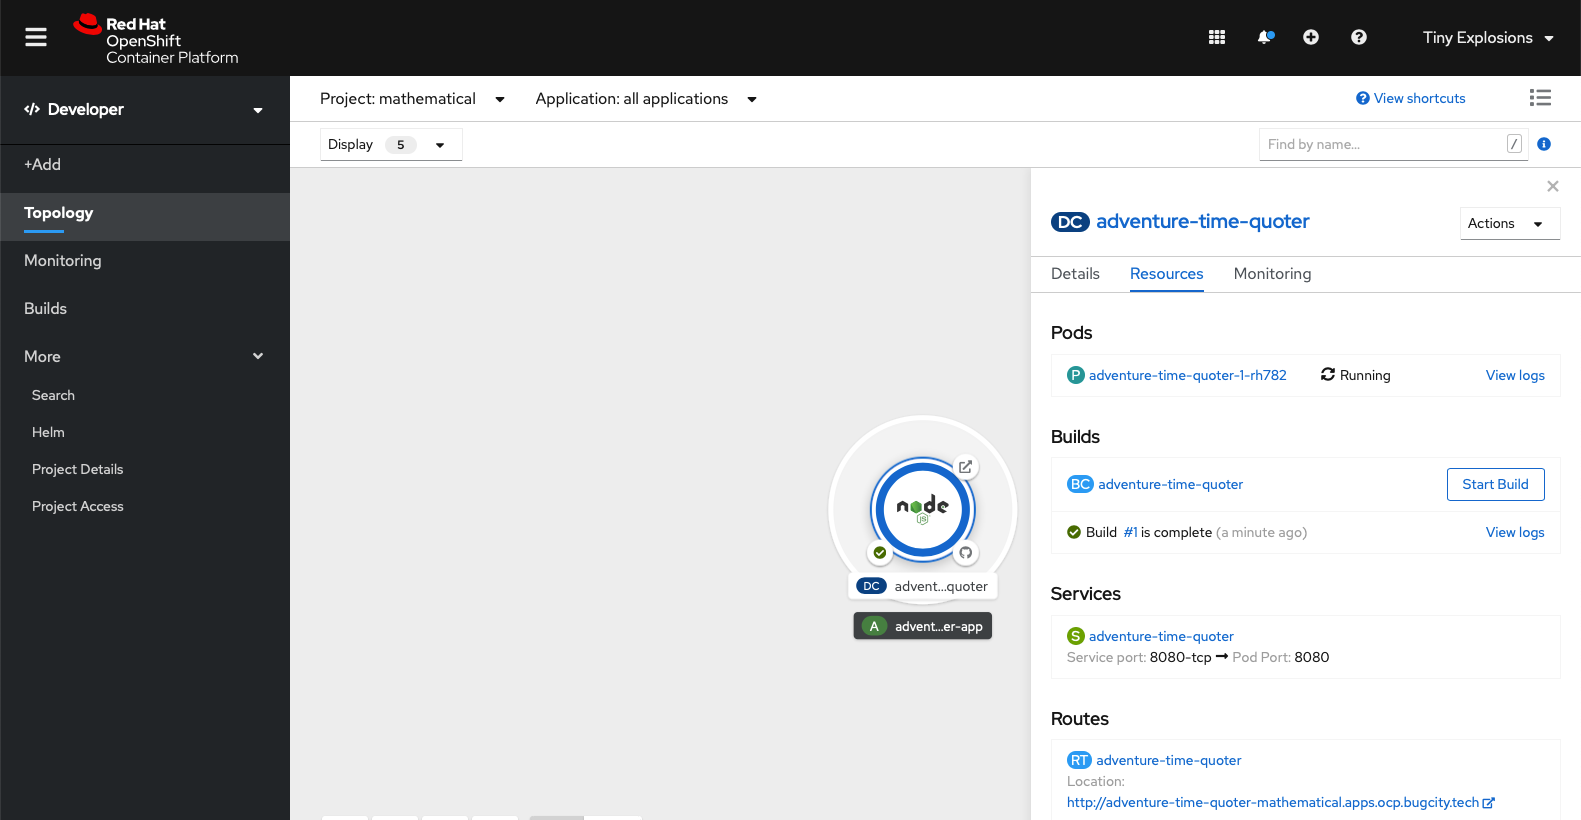
In my case, I point a browser to http://adventure-time-quoter-mathematical.apps.ocp.bugcity.tech/quote and see a lovely, random quote from Lady Rainicorn

So there you have it, your first application running on OpenShift. Naturally, you will want to add more functionality, and some extra options for when you deploy, but you're on the way now.
The complete application I deployed is available on GitHub, albeit with some things added that weren't mentioned here, but feel free to take and deploy it if you want!